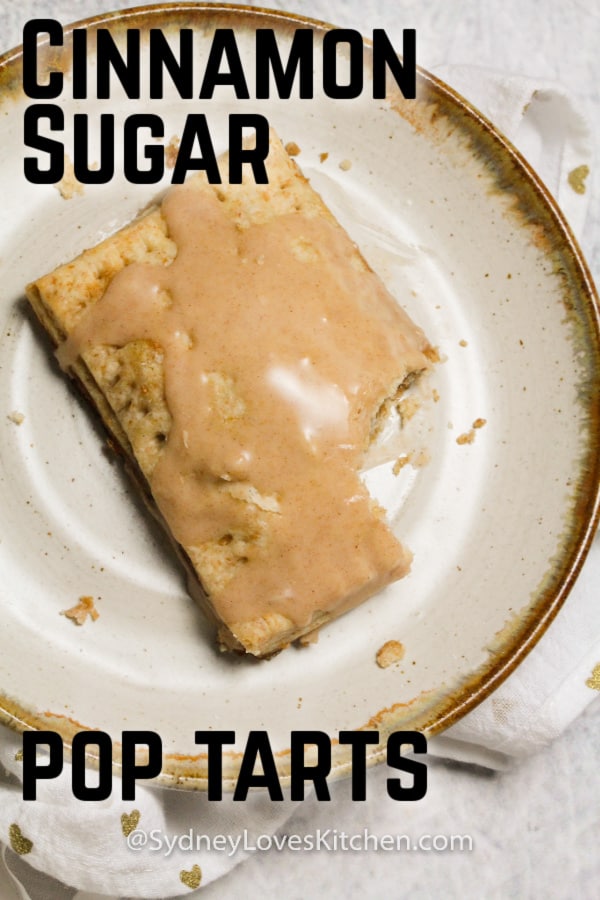
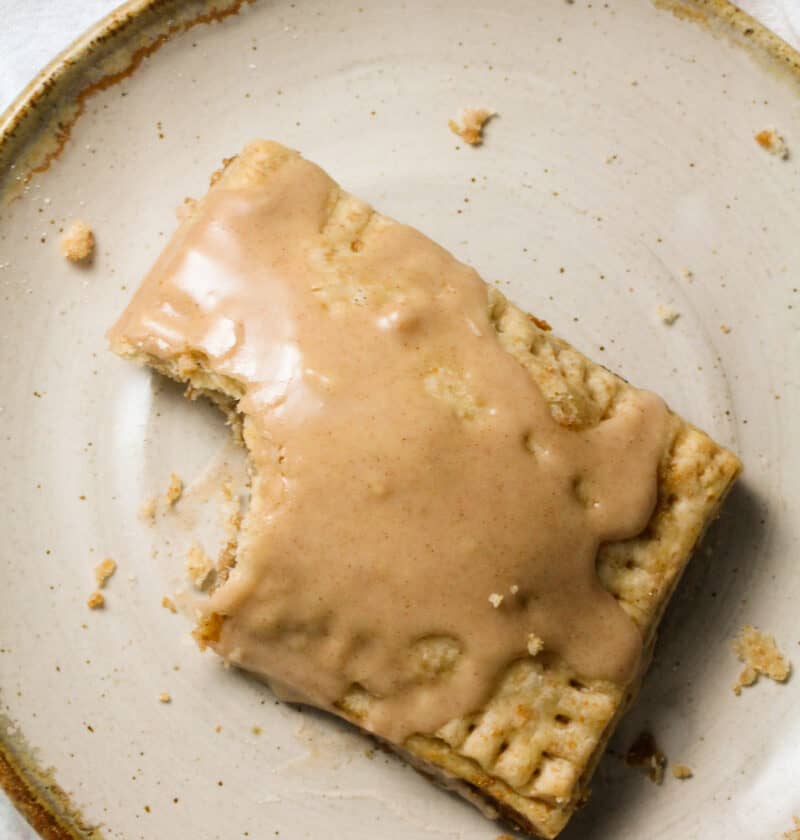
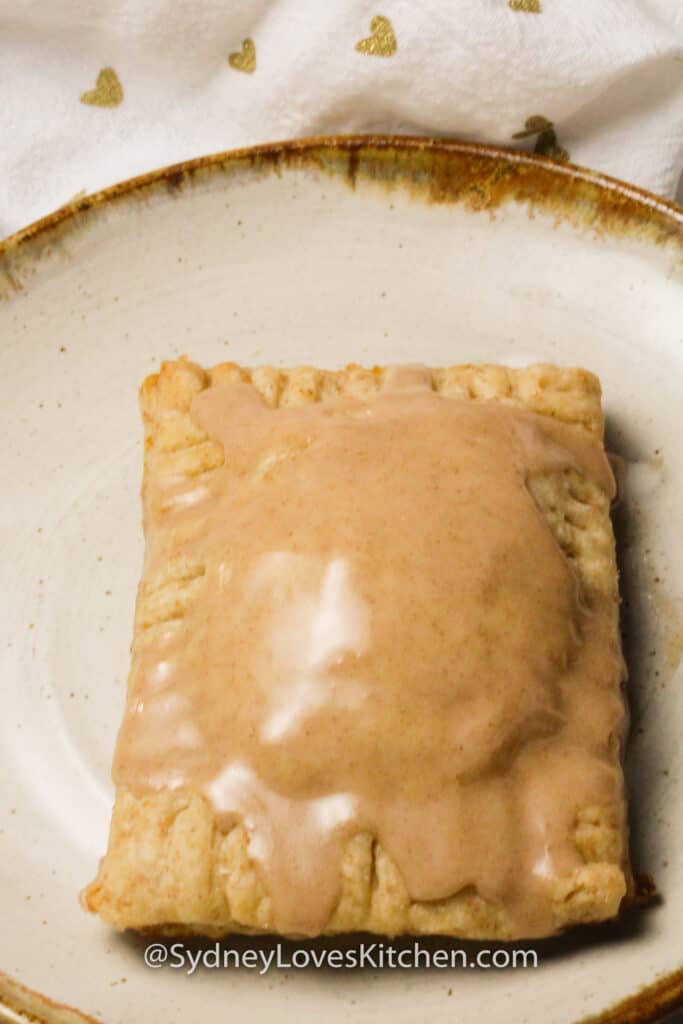
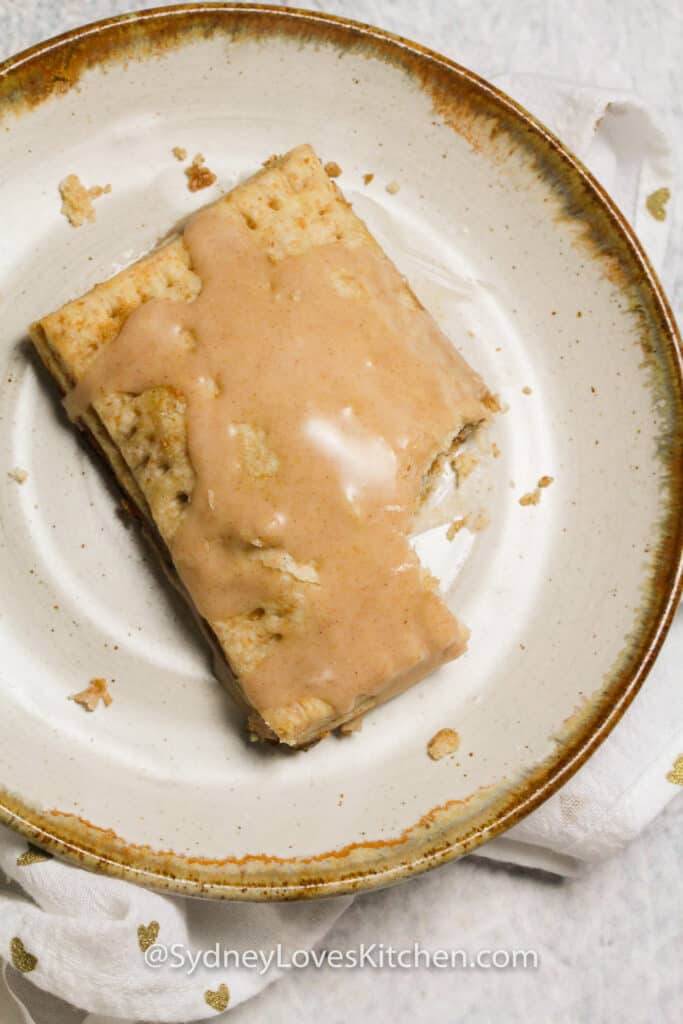
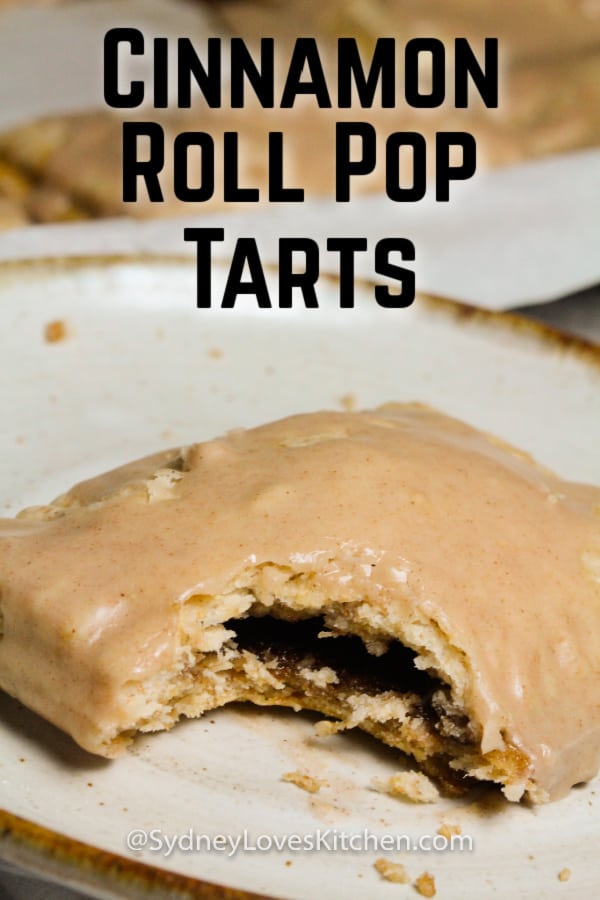
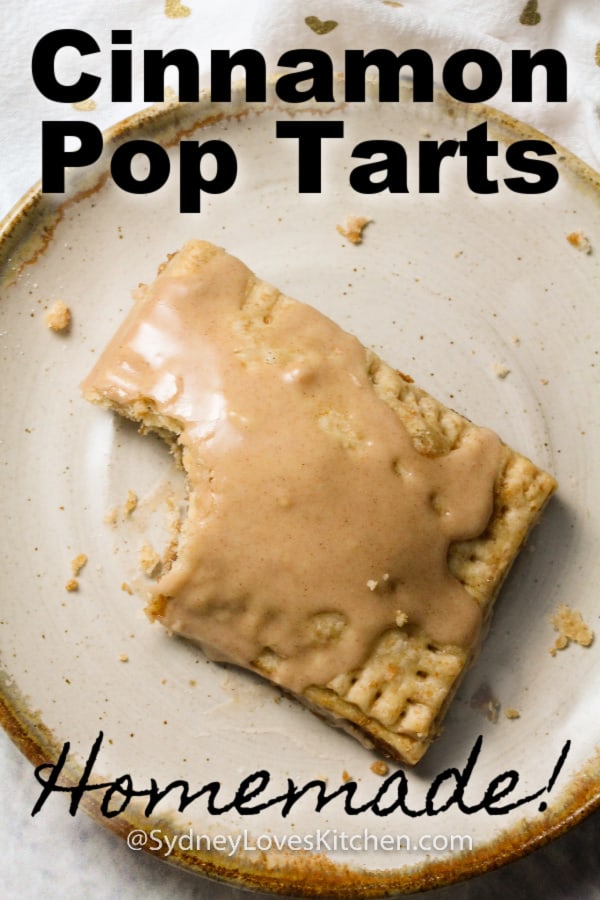
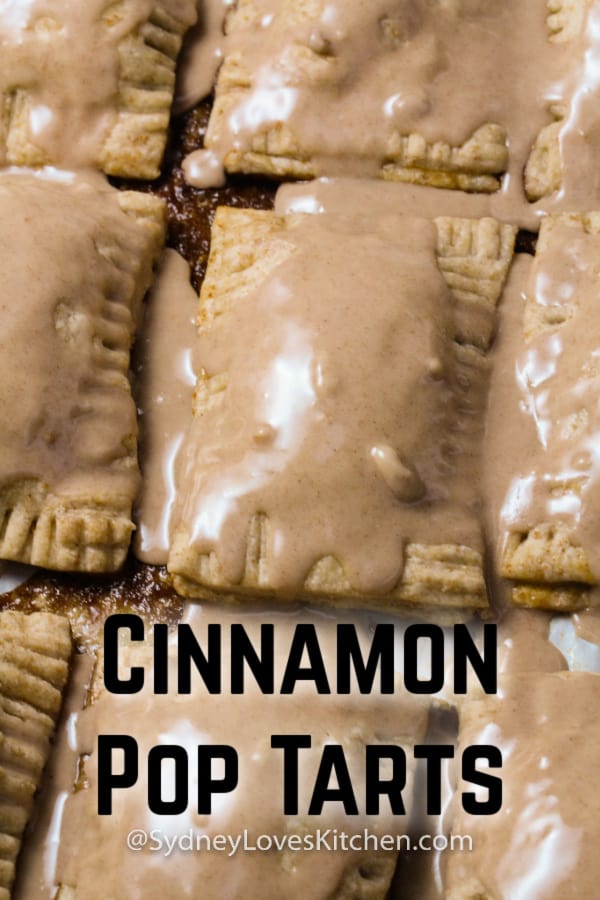
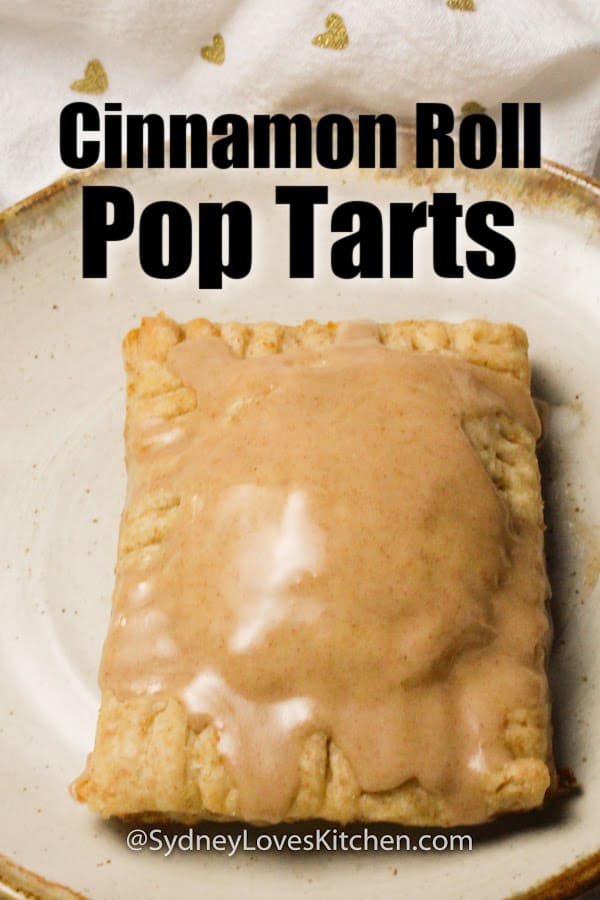
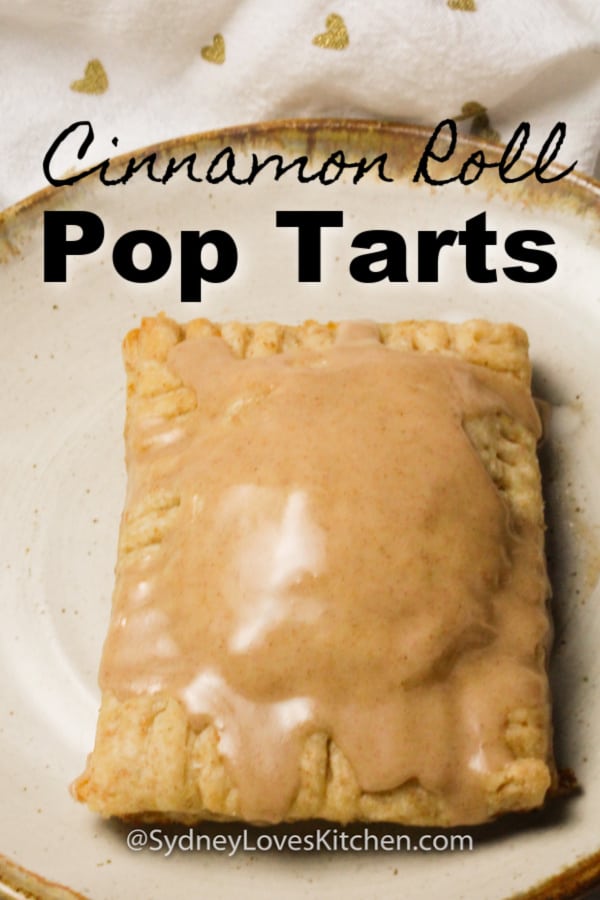
This recipe is an amazing alternative to store-bought pop tarts! They’re pretty easy, and very tasty. Love cinnamon? These will be your favorite copycat pop tarts!
They still are not crazy healthy but they are healthier and tastier than the ones in the store because they have no chemicals and additives. If that makes sense. Honestly, they are not even that hard to make. They’re as easy as Rosemary Shortbread Cookies and Key Lime Cookies!
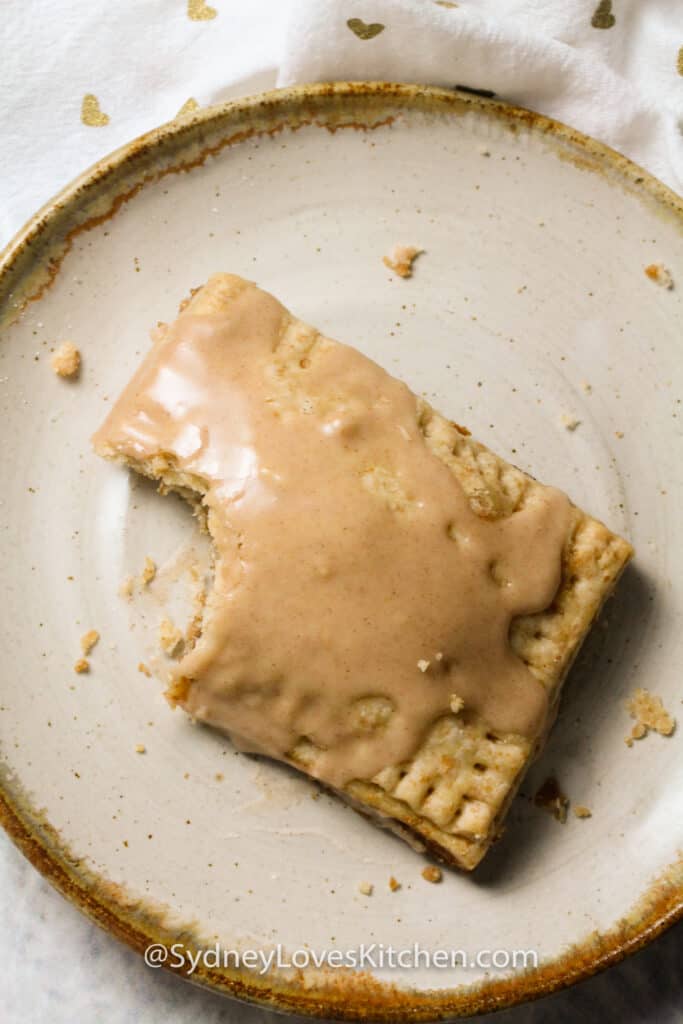
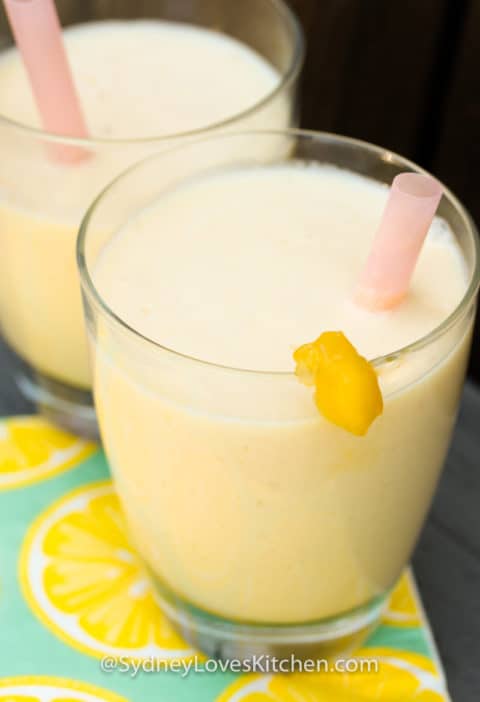
My favorite part about making these homemade pop tarts is when you bake them the sugary filling melts and oozes out so you can just snack on that part – after it cools off of course. It is so, so yummy. For breakfast, pair them with a Mango Yogurt Smoothie!
This post may contain affiliate links. Please read my disclosure policy.
Follow SydneyLoves Kitchen on Pinterest for more great recipes and ideas!
PIN this Homemade Pop Tart recipe to your Breakfast Board!
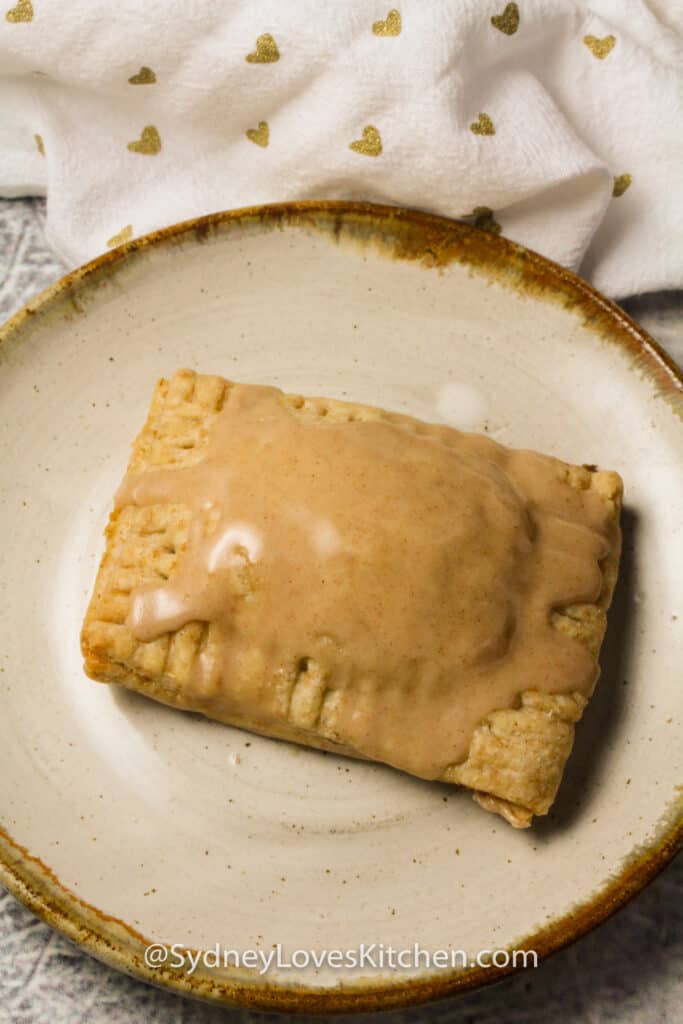
When To Make Homemade Pop Tarts
These homemade pop tarts are best to make and bake the night before because they are way too hot to eat out of the oven and need time to cool off. I find it easier to wait when you are asleep! It might be worth burning your mouth off but I don’t recommend it.
But you can also make them on the weekend when you have time to watch Netflix and wait for them to cool off. They make a perfect afternoon snack! Or, serve them to your family for dessert.
Genius Pop Tart Fillings
We love pop tarts. They’re great for breakfasts, and for school lunches too. This dough can be used to make so many varieties of pop tarts!
- Apple pie filling – homemade or from a can! Cut the apples in small pieces
- Cherry pie filling – homemade or from a can! Cut the cherries in quarters
- Canned pumpkin pie filling – check for sweetness and add brown sugar if needed
- Blueberries or blackberries – both together are my fave! Toss in a tiny bit of flour and sprinkle with a smidge of sugar
What To Do With Extra Dough
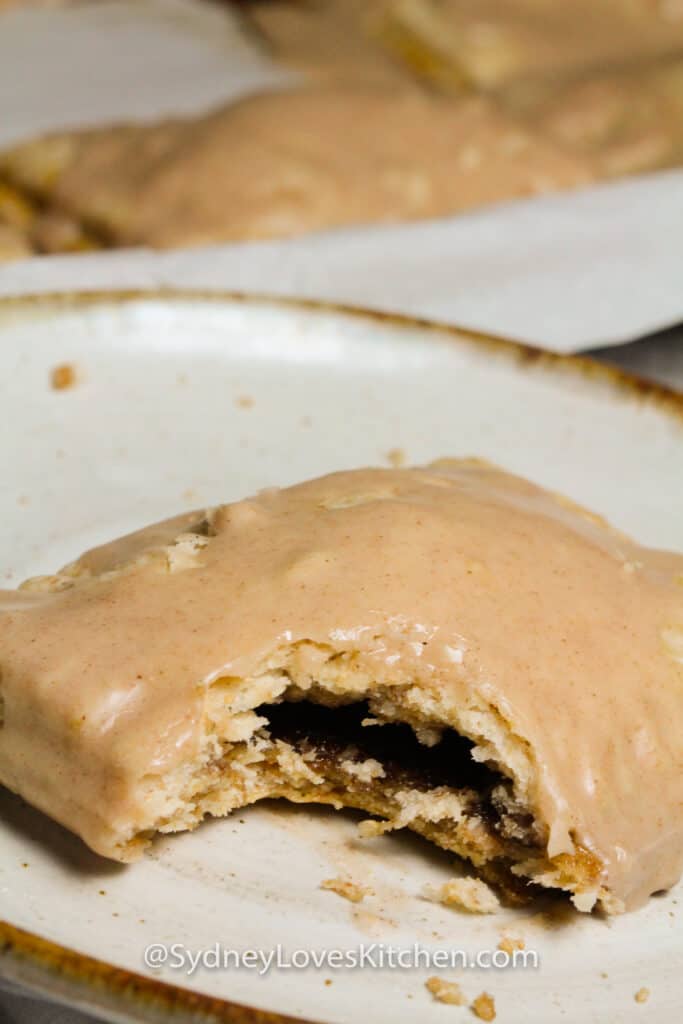
For any extra dough you may have, you can make mini pop tarts in an Easy Bake Oven! I made some mini cinnamon pop tarts, and they were fantastic! Use canned apple pie filling to make mini apple pie pop tarts.
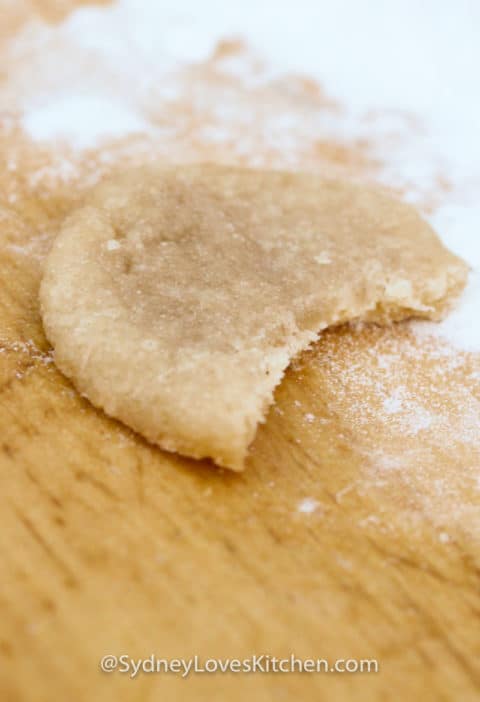
You can also use the extra pop tart dough to make cookies (or crackers!).
- Roll the dough out
- Pop the dough onto a cookie sheet
- Sprinkle salt or cinnamon sugar on top of the dough
- Cut them into your favorite cookie shapes (use a pizza cutter, or use a cookie cutter)
- Bake them at 450F for 5-10 minutes
Have fun with it!
How To Make Homemade Pop Tarts
Pop tarts are easy to make. They take a little time, but they are so worth it! These cinnamon pop tarts will keep for about 3 days (if they last that long), so they’re great for days to come for breakfast, lunches, and snacks.
- Mix together the filling ingredients and set aside
- Using a food processor or pastry cutter, mix dough ingredients (per recipe below)
- Roll out dough, and cut into rectangles
- For each pop tart, add filling to the middle of one rectangle. Brush the edges with beaten egg, and add a top piece of dough, and crimp the edges and prick the top
- Chill the pop tarts, and preheat the oven
- Bake until golden brown. Cool completely
- Meanwhile, mix together frosting ingredients
- When pop tarts are cooled, frost, and rest uncovered for about 2 hours (to allow frosting to harden)
Enjoy!!
Who Invented Pop Tarts You Ask
The terrific Kelloggs company created Pop Tarts in 1964. The first flavors were strawberry, blueberry, brown sugar cinnamon, and apple currant (which my little brother and I love). They also invented Rice Krispies and Frosted Flakes (which my little brother and I also love 😍).
How To Store And Heat
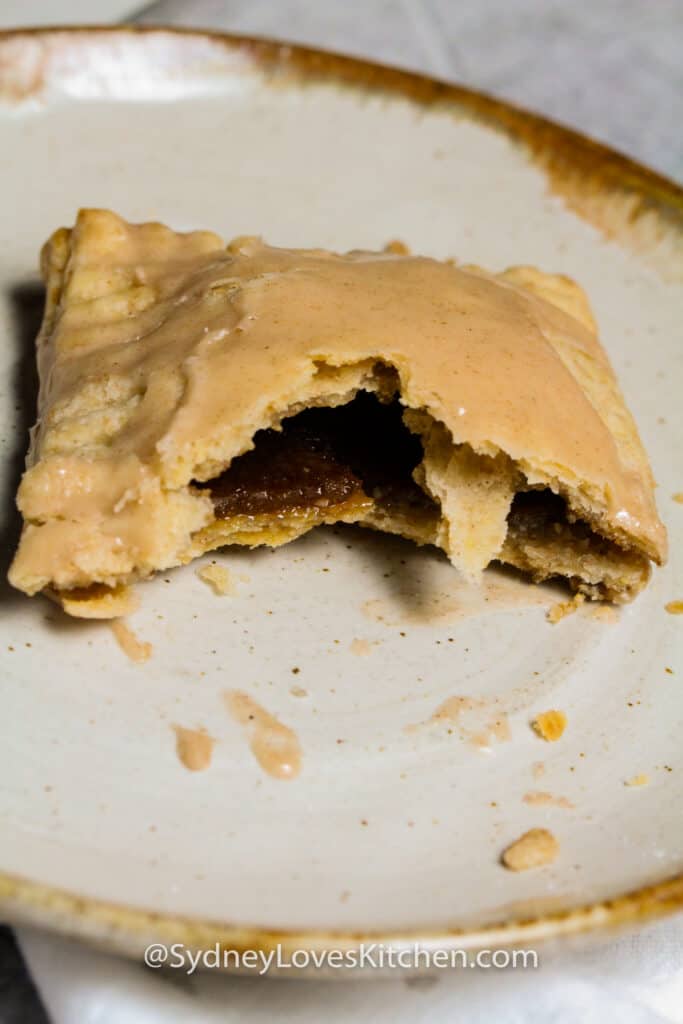
Well, storing pop tarts is pretty simple. What we do is put them in an airtight container and leave them on the counter next to the toaster. They will last for about 10 days. Sometimes I eat them right out of the container. If you want them really hot and melty, pop them in your oven while it is preheating for 1-2 minutes (or the microwave, for about 30 seconds at a time). Be careful, the inside will be HOT!
Note: These homemade pop tarts cannot be warmed in the regular toaster if they are frosted but if you wait to frost them and frost them after they are warmed up you can put them in the toaster.
Homemade Pop Tarts
Equipment
- Mixing bowl
- Food processor
- Rolling Pin
- Whisk
Ingredients
FIlling
- ¾ cup brown sugar
- 1 Tablespoon flour
- 1 Tablespoon cinnamon
- 2 Tablespoon butter melted
- 1 teaspoon vanilla
Dough
- 2 cups flour
- ½ cup whole wheat flour
- ½ teaspoon cinnamon
- 1 cup butter cut into pieces
- ½ water cold, may not use all water
- 1 egg beaten, for brushing
Frosting
- 2 cups powdered sugar
- 1 Tablespoons vanilla extract
- 1 teaspoon cinnamon
- 3 Tablespoons water plus additional if needed
Instructions
- In a small bowl, combine brown sugar, flour, cinnamon, butter, and vanilla to make the filling and set aside.
- In a food processor, combine flours, cinnamon, butter, and vanilla. Pulse until it starts to form pea sized lumps (or use a pastry cutter). Add cold water, 1 Tablespoon at a time, while pulsing, until the dough starts to come together and forms a ball.
- On a floured work area, roll out the dough to ⅙ inch thick and cut into rectangles (about 3x4 inches).
- Fill the pop tart shells by putting one rectangle shell on the bottom. Add 1 Tablespoon of filling, brush the edges with the beaten egg, and place the top rectangle shell on top. Poke a couple of holes on the top, and use a fork to press the edges of the tart shell together.
- Place on a baking sheet and put in the freezer for 20 minutes, or the fridge for 1 hour.
- Meanwhile, preheat oven to 400°F.
- Bake pop tarts for 15-20, until golden brown. Cool completely.
- Meanwhile, in a medium bowl, combine powdered sugar, vanilla, cinnamon, and water until smooth. Add extra water, 1 teaspoon at a time, if frosting is too thick.
- Spread pop tarts with frosting. Allow to rest uncovered, so frosting hardens, about 2 hours. Enjoy.
Notes:
Nutrition information does not include optional ingredients or garnish and is an estimate. It may change based on actual ingredients and cooking methods used.

Love that there is a way to make these homemade. Thanks!
Loved eating these! They remind me of being a kid!